PLEASE READ THE TERMS OF USE AT THE BOTTOM OF THIS POST!
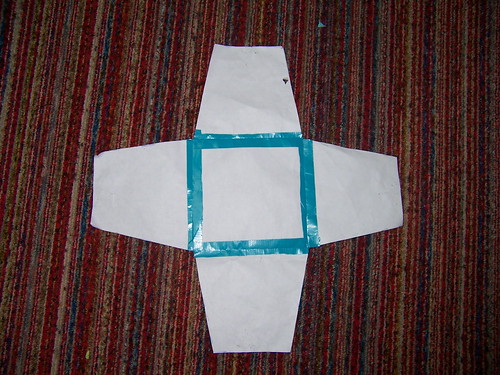
Start by making your pattern. It can be any size you want it to be - the square piece is the flat bottom, and the flaps fold up to make the sides.
Pin the pattern onto two layers of fabric - the lining and the outside.

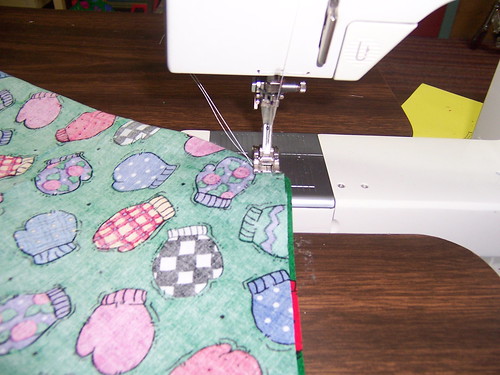
Because the pattern doesn't have a seam allowance, you need to make sure to add that in when you cut the fabric. I use a rotary cutter and cut 1/2" away from the pattern.

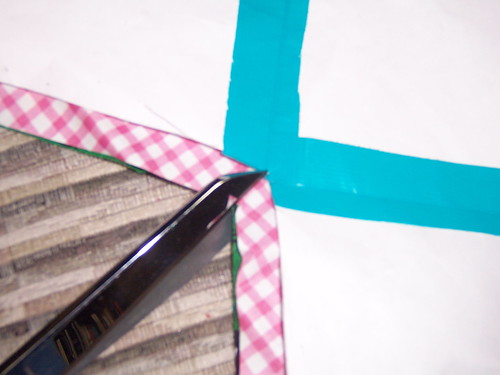
When the fabric is cut, take scissors and snip at the four corners of the center square, from the edge of the fabric to the paper pattern. This is very important, because there are no line markings, so it tells you where to sew.
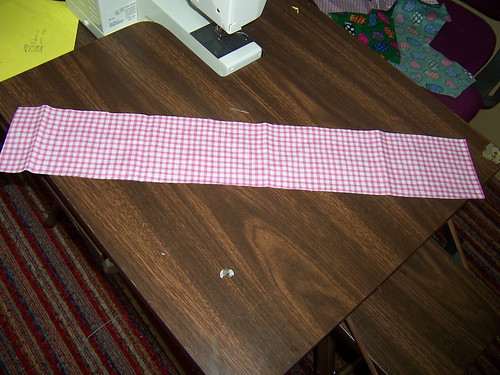
You also need to cut a piece that is 4" by 25" from the lining fabric, to make the drawstring holder.
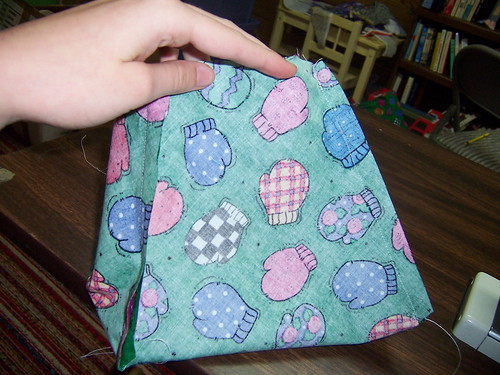
Now take one piece of cut out fabric, and fold it like so, right sides together.
Starting at the edge of the slit, sew along one side, keeping an even distance from the edge. Then do the same to the other side...
So it looks like this when you reopen it:

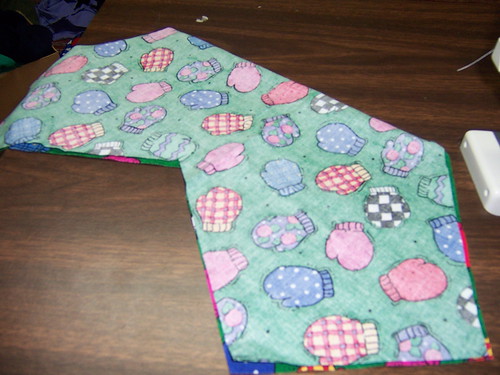
Then put the open edges together and sew them in the same manner, so you have four side seams. Repeat with the other piece of cut out fabric. You should now have two things that look like this:
Turn your iron on now.
Turn the outer fabric piece inside out, like so...
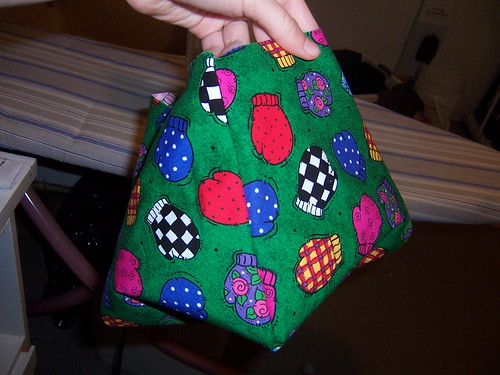
And place the inner fabric piece (without turning inside out) inside of it, so it looks like this:
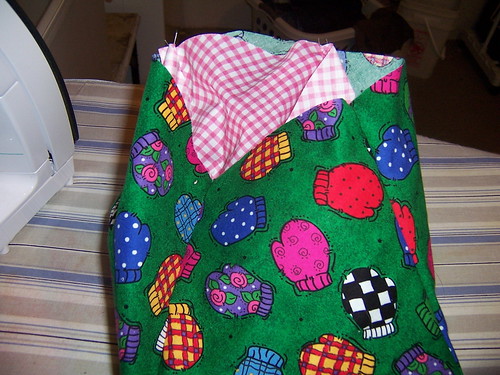
Now fold along one of the seam lines, making sure that you are folding the outer fabric and the lining, and iron along it.
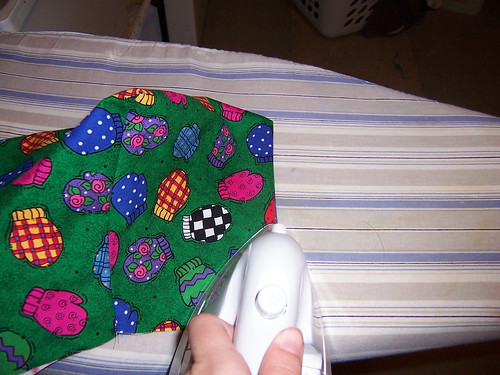
Repeat this with all four seam lines.
Set the bag on the ironing board, sitting on its flat bottom. Push the flat side facing you away from you, so it lies flat against the inside bottom of the bag...
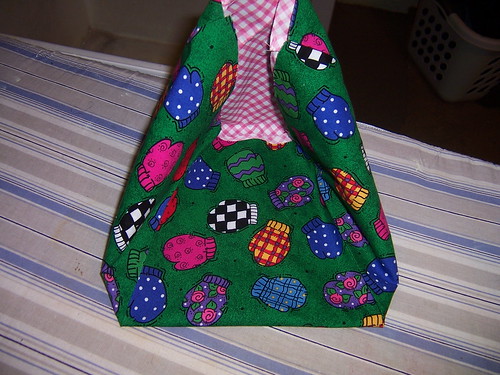
And iron along that fold line. Repeat on all four sides.
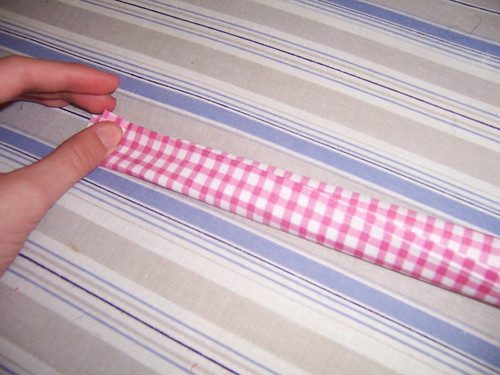
Take your 4" by 24" piece of lining fabric, and fold both sides in to meet in the middle. Iron.

Fold this in half, and iron again.
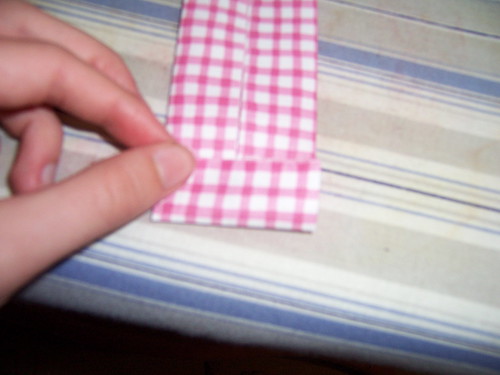
Fold one end over and iron:
Unplug the iron, and return to your sewing machine.
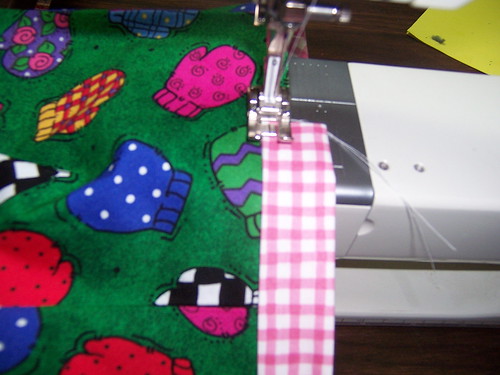
Put the two sides of the folded fabric onto both sides of the unfinished edge of the bag, and put the presser foot down:
Sew around the bag, keeping both sides of the folded fabric on both sides of the bag, until you reach about two inches before the place where you started. Then cut the fabric strip, with about an inch to spare, and fold the left over underneath the part of the strip you are about to sew, so it overlaps slightly with the beginning.
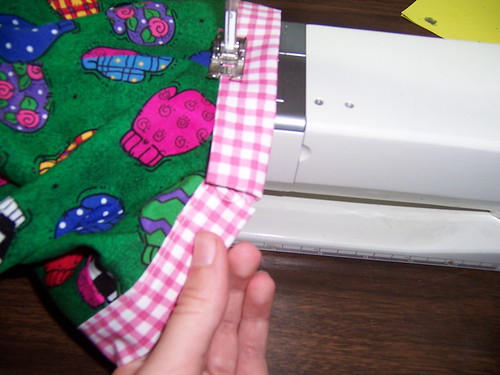
Sew until you hit the place where you started, backstitch, and cut the threads.

All that's left to do now is put the drawstring in!
If you have any questions about this tutorial, feel free to pm me on Ravelry (cinnamoon) or leave a comment.
I would ask that you do not use this tutorial to create bags to sell or trade. Please use it for personal use only. If you wish to make bags to sell or trade, contact me, and maybe we can work something out. Thank you!
